This guide outlines how to transfer FIL from your Ledger wallet to your MetaMask wallet, and how to use Ledger to secure your Metamask wallet for the FVM.
Transfer FIL From Ledger to Metamask
To access dApps on the Filecoin Virtual Machine (FVM), you need FIL in a 0x/f410 wallet address. However, Ledger Live has not yet been updated to support the direct transfer of FIL to 0x/f410 addresses. To move FIL from a Ledger wallet to Metamask follow the steps below:
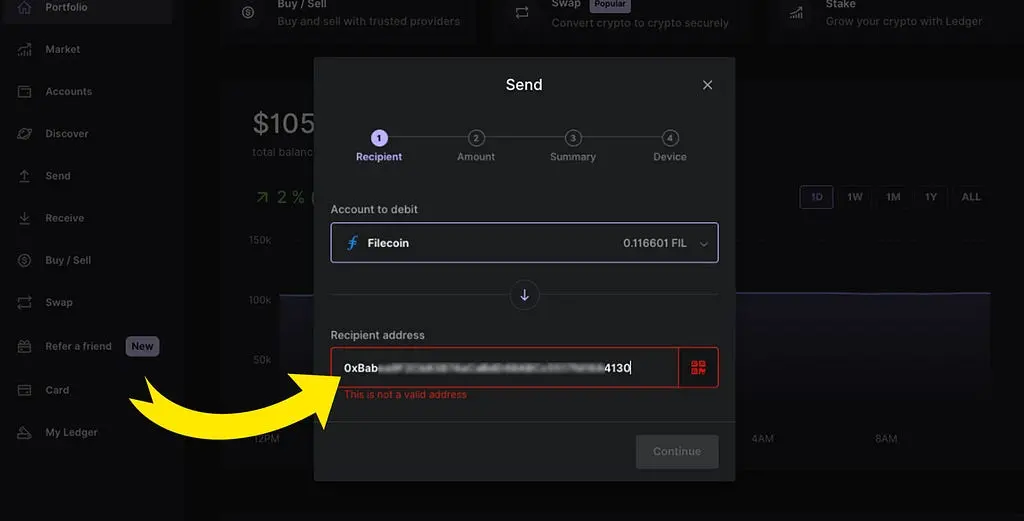
Open Ledger Live. Click [Send] and select your Filecoin account to debit. Then paste your Metamask 0x address. As you can see, Ledger Live does not yet support 0x addresses for FIL. It displays an error that reads, “This is not a valid address.”
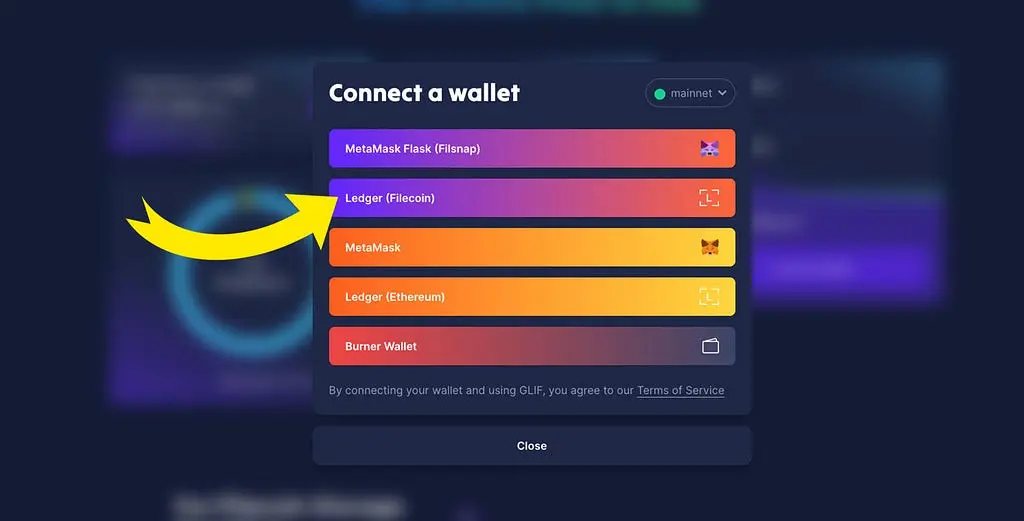
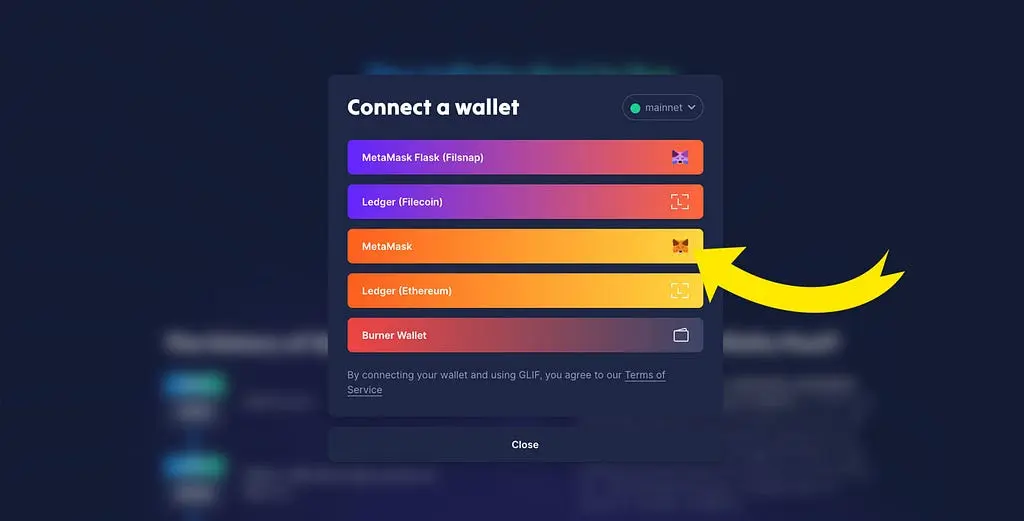
You can use Glif.io to send FIL from your Ledger directly to Metamask (0x). Visit Glif.io and click [Connect Wallet].
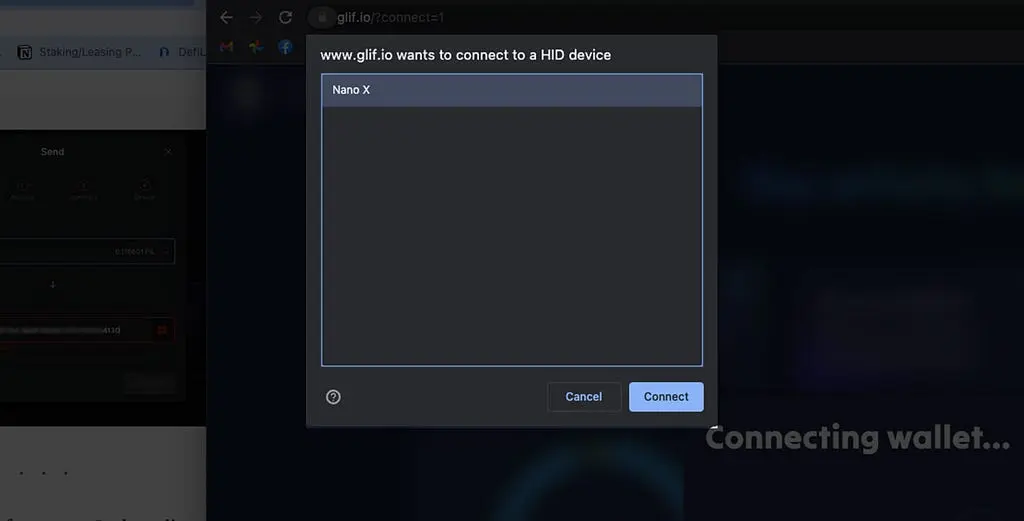
Connect your Ledger device via USB and select Ledger [Filecoin]. Make sure you have closed Ledger Live to avoid device access conflicts.
5. Allow glif.io to connect with your device.
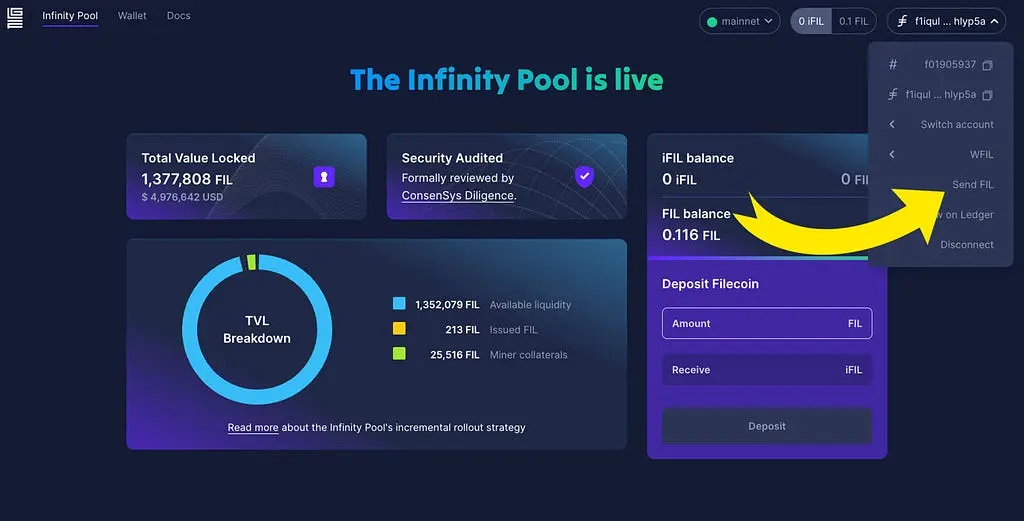
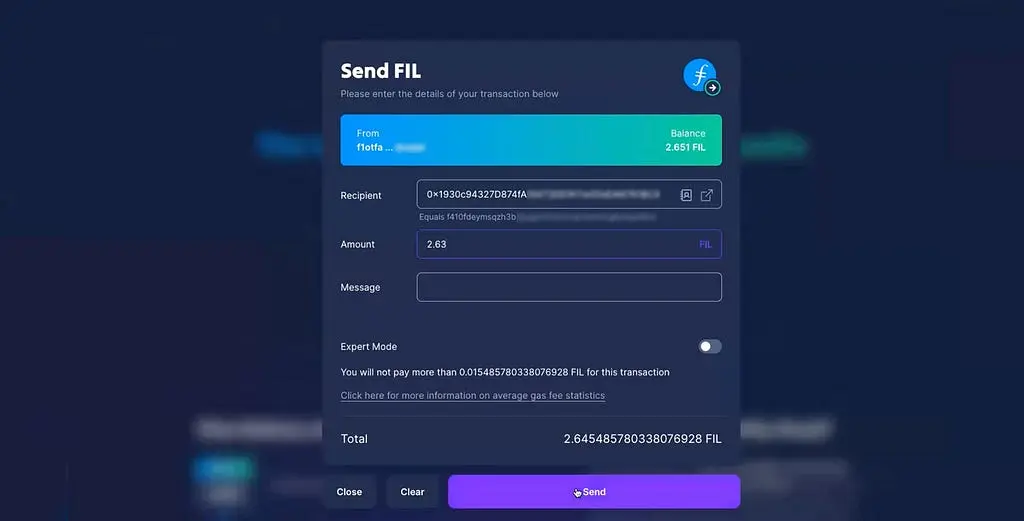
Your Ledger wallet and FIL balance should now be displayed. Click [Send FIL] to transfer from your Ledger to Metamask.
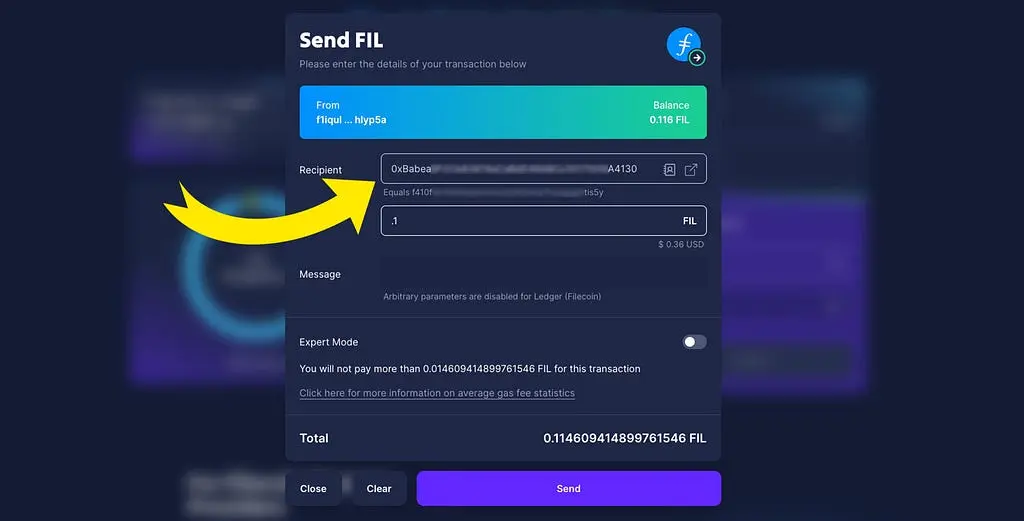
7. Paste your Metamask (0x) address into the recipient field. Glif.io recognizes this 0x address as a valid FIL wallet address and also shows the corresponding f410 address.
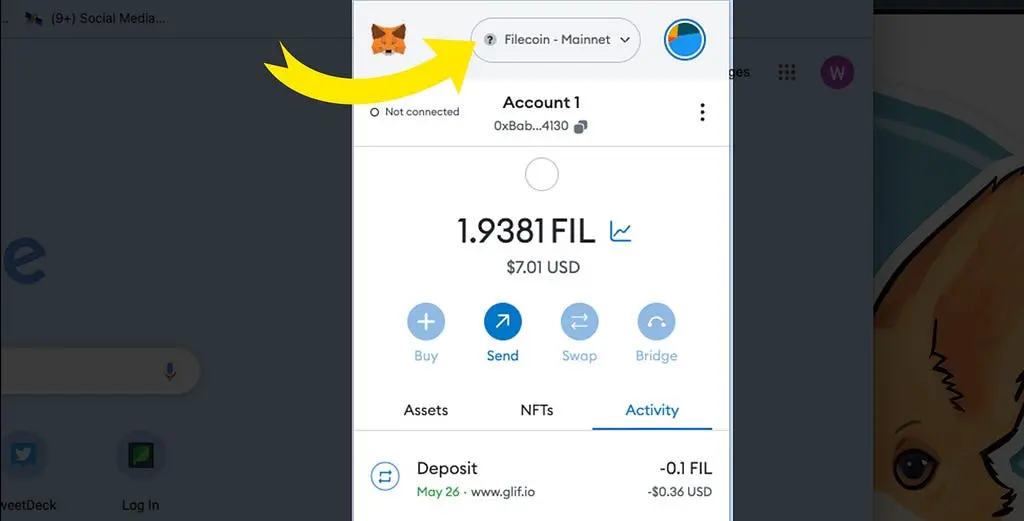
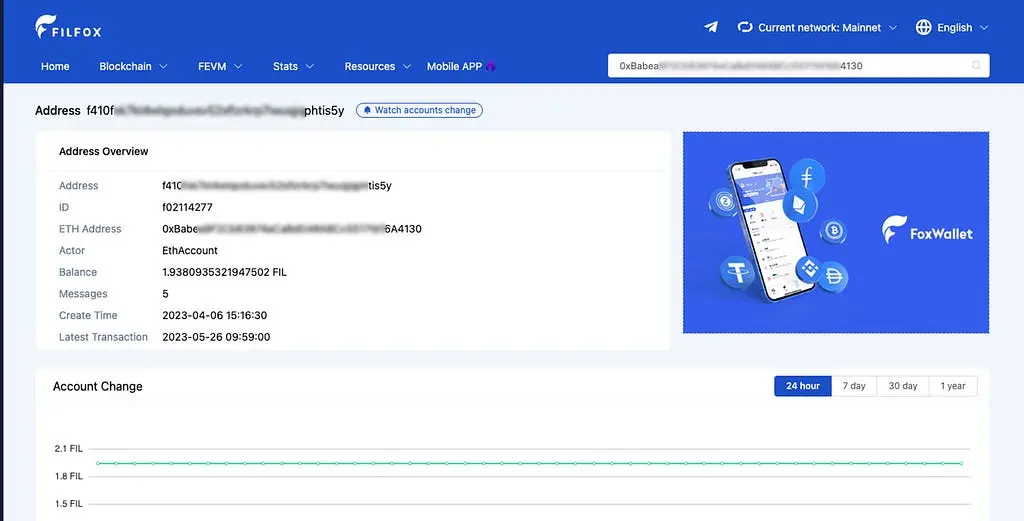
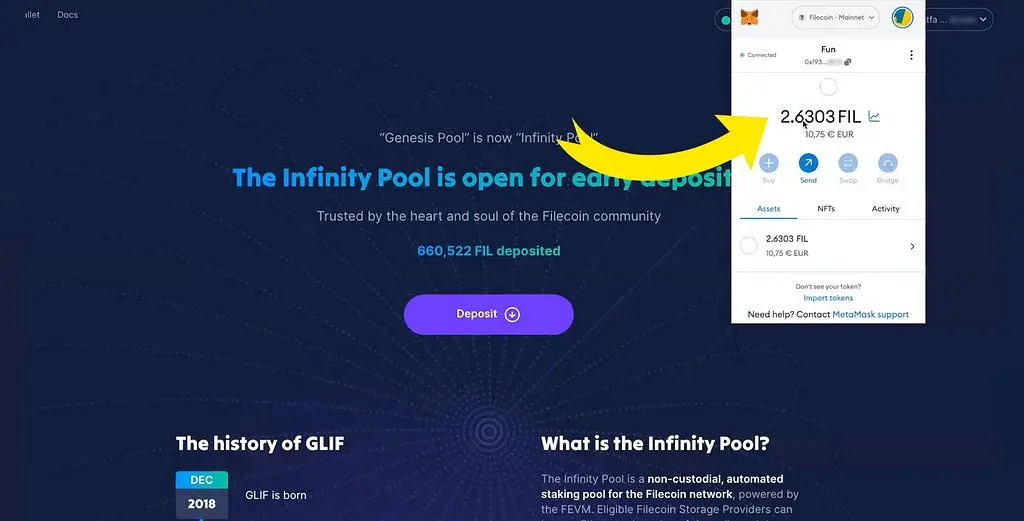
Click [Send] and approve the transaction on your Ledger device. Your funds should be available in Metamask after around two minutes. You can check that your funds have arrived by searching for the destination address in a block explorer like Filfox.
Use Metamask with a Ledger on the FVM
Metamask has support for Ledger wallets, meaning you can hold funds on a Ledger device to use with the FVM. Note that to use the FVM, we will need to use 0x/f4 addresses. To configure use your Ledger with Metamask, you will need to do the following:
Ensure Metamask is connected to the Filecoin Network
Connect your Ledger device to the Ethereum network and connect it to Metamask. Copy the 0x address you see here. Note: This is counterintuitive but has to do with how signatures are generated. The address that will show up in your Metamask wallet (when connected to the Filecoin Network) while your Ledger device (with the Ethereum app open) is connectedwill be able to send transactions on the FVM.There is a PR to get f4/0x support in the Filecoin Ledger app for the FVM, which when merged will mean one will only need to use the Filecoin app on their Ledger device.
You can now follow the rest of the instructions described above starting with Step 3 of the previous section. Note you will need to switch back from the Ethereum app on your Ledger to the Filecoin app to initiate the transfer in Step 4 of the previous section.
Once the funds have been sent to the 0x address (copied in Step 2 of this section), you will be able to to initiate transactions via Metamask and sign transactions using the Ethereum app on your Ledger.
In order to access dApps on the Filecoin Virtual Machine (FVM), you need to have FIL in a 0x/f410 wallet address. However, several popular exchanges have not yet been updated to support the direct transfer of FIL to a 0x/f410 address.
If you need to move FIL from an exchange that does not yet support 0x/f410 addresses follow the steps below. These steps will show you how to use a GLIF burner wallet to facilitate the transfer.
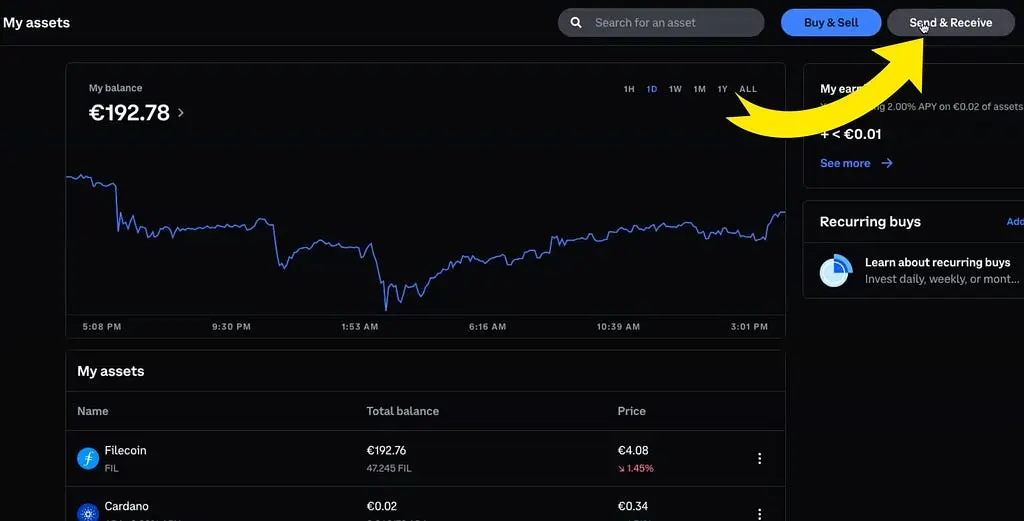
Log into your Coinbase account. Ensure you have some FIL. Then click [Send & Receive] in the upper right-hand corner.
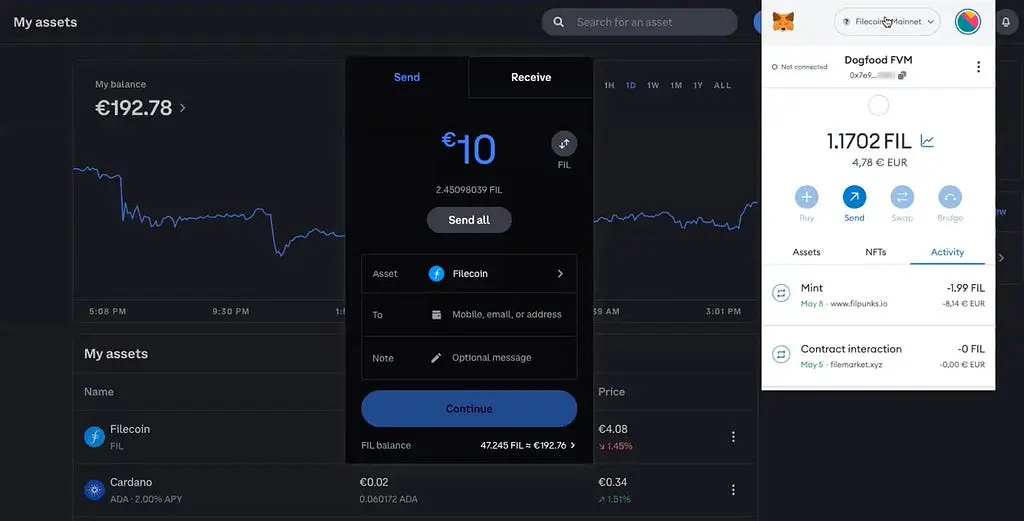
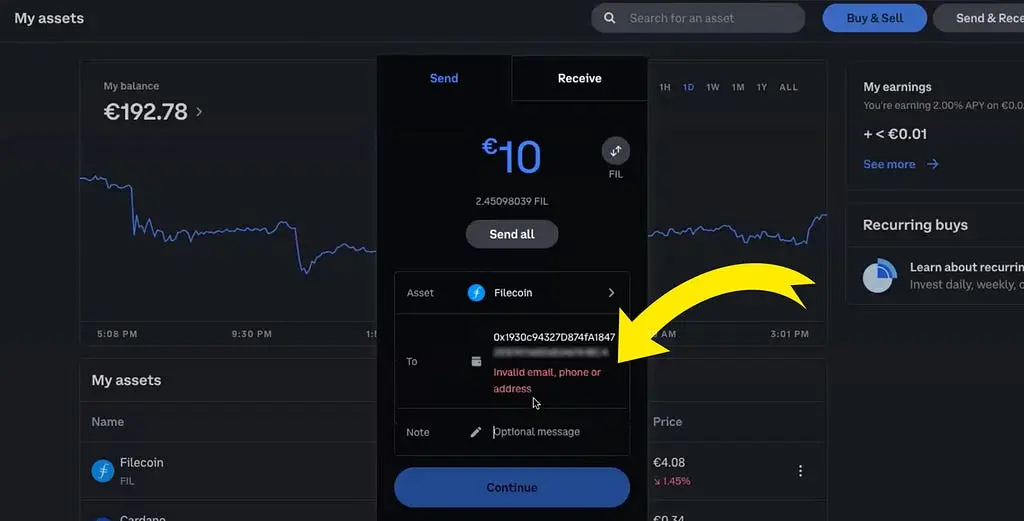
3. If you enter your Metamask 0x address directly into Coinbase you will see an error. This is because Coinbase has not yet upgraded to support sending FIL to 0x/f410 addresses. You will need to send your FIL from Coinbase to an intermediary wallet that supports all FIL address types. In this example, we will use a GLIF.io burner wallet.
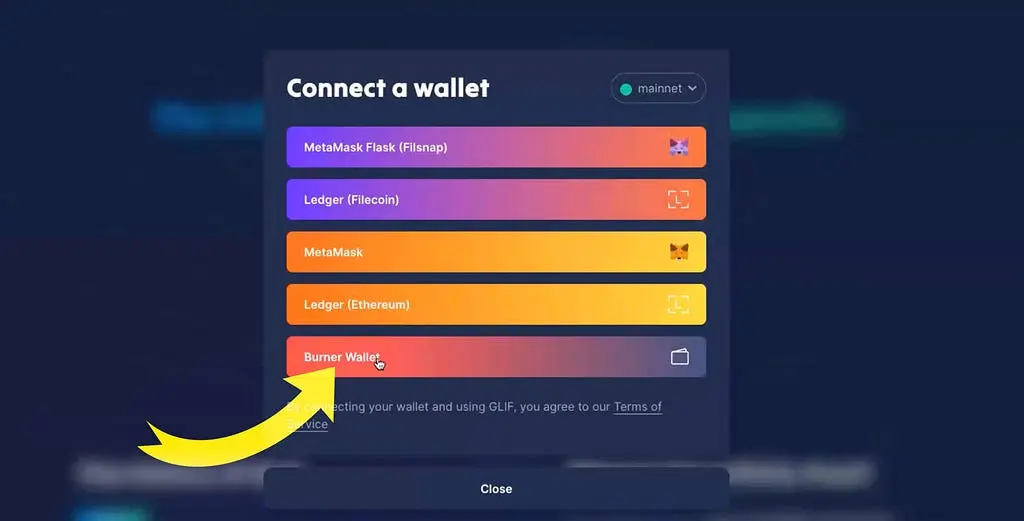
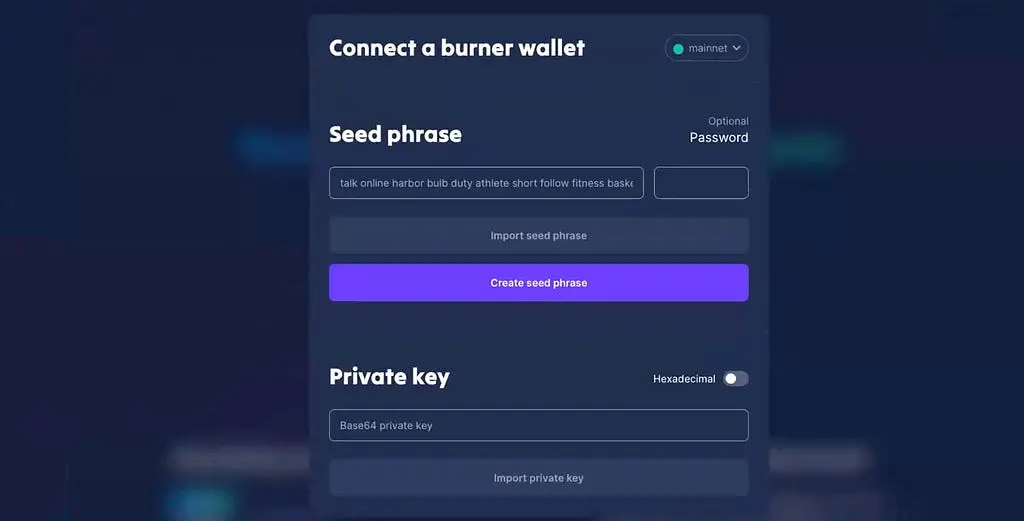
To get your recipient address visit glif.io click [Connect Wallet] and create a [Burner Wallet]
A random seed phrase will be created. You can use this seed phrase to recover this burner wallet in the future if you need to. Click [Create seed phrase] to open your new burner wallet.
6. When your GLIF wallet is created it should have an f1 address like this (eg. f1fnqqhhor2y4metvokp22kdtnl7qbg6rso7kqp7a) Copy this address and enter it as your Coinbase recipient.
7. Coinbase should no longer show an error when you send your FIL to your GLIF f1 wallet address.
8. Once the transaction is complete and the FIL is visible in your GLIF wallet open Metamask and copy your 0x address.
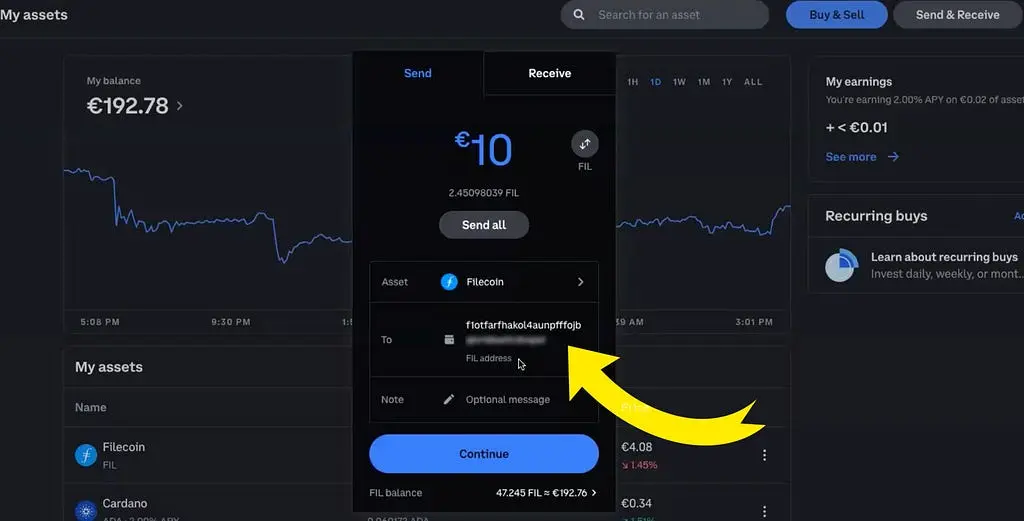
Return to your GLIF burner wallet and select [Send FIL]. Paste your Metamask 0x address as the recipient. Send your total FIL balance from your GLIF wallet to Metamask — why would you want to keep FIL in a burner wallet?
10. Once the transaction is complete you should have your FIL balance in your Metamask 0x address and ready to use on any number of FVM dApps.
In the future, Coinbase may join other exchanges in allowing FIL to be sent directly to a 0x address so these steps will no longer be necessary.
How to transfer from a Metamask wallet (0x) to a Coinbase (f1) account
To reverse the process described above and send FIL from an Ethereum-based wallet like Metamask to an f1 address follow the steps below.
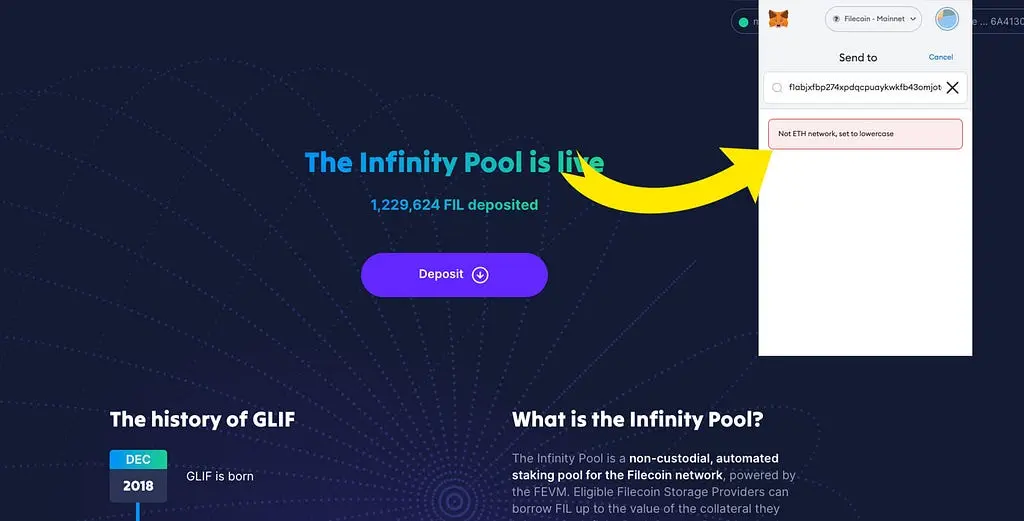
If you attempt to transfer FIL from a Metamask 0x account to any f1 wallet you will get the following error: Not ETH network, set to lowercase. This error is because Ethereum-based wallets do not natively recognize the f1 address formats.
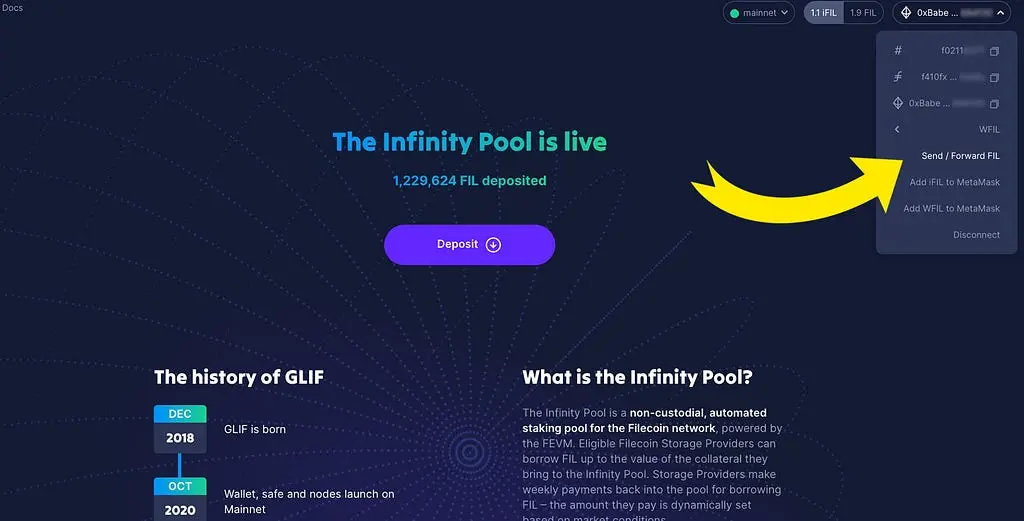
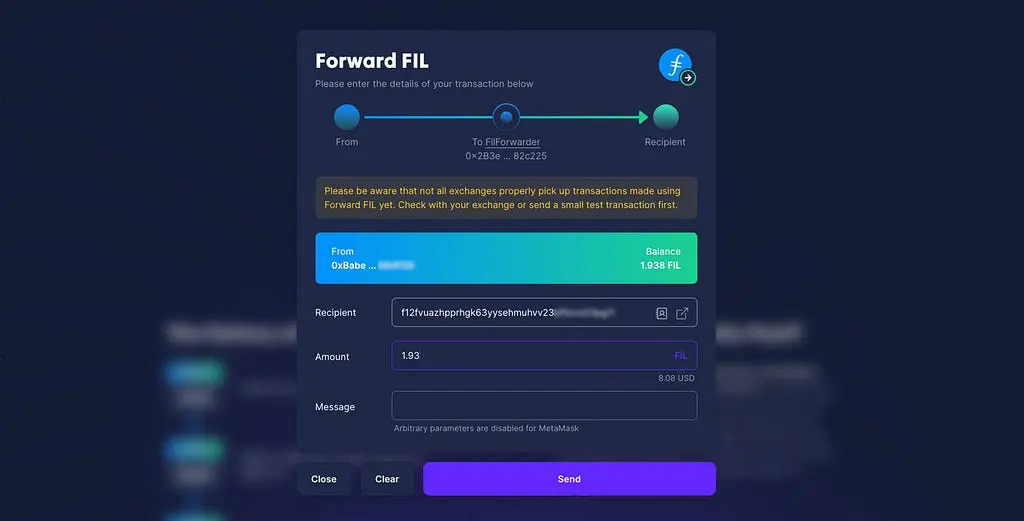
2. To transfer your FIL from an 0x Ethereum-based wallet like Metamask to an f1 address use the GLIF FILForwarder. Visit glif.io and connect your Metamask wallet.
Once your wallet is connected click [Send/Forward FIL]
4. Paste your Coinbase address (f1) in the [Recipient] field and enter the amount of FIL you want to send. Make sure you leave a small amount of FIL on your Metamask wallet to pay the gas fee.
5. Your funds should be available at the destination after around two minutes. You can check that your funds have arrived by searching for the destination address in a block explorer.